BEND and FRACTURE TESTS
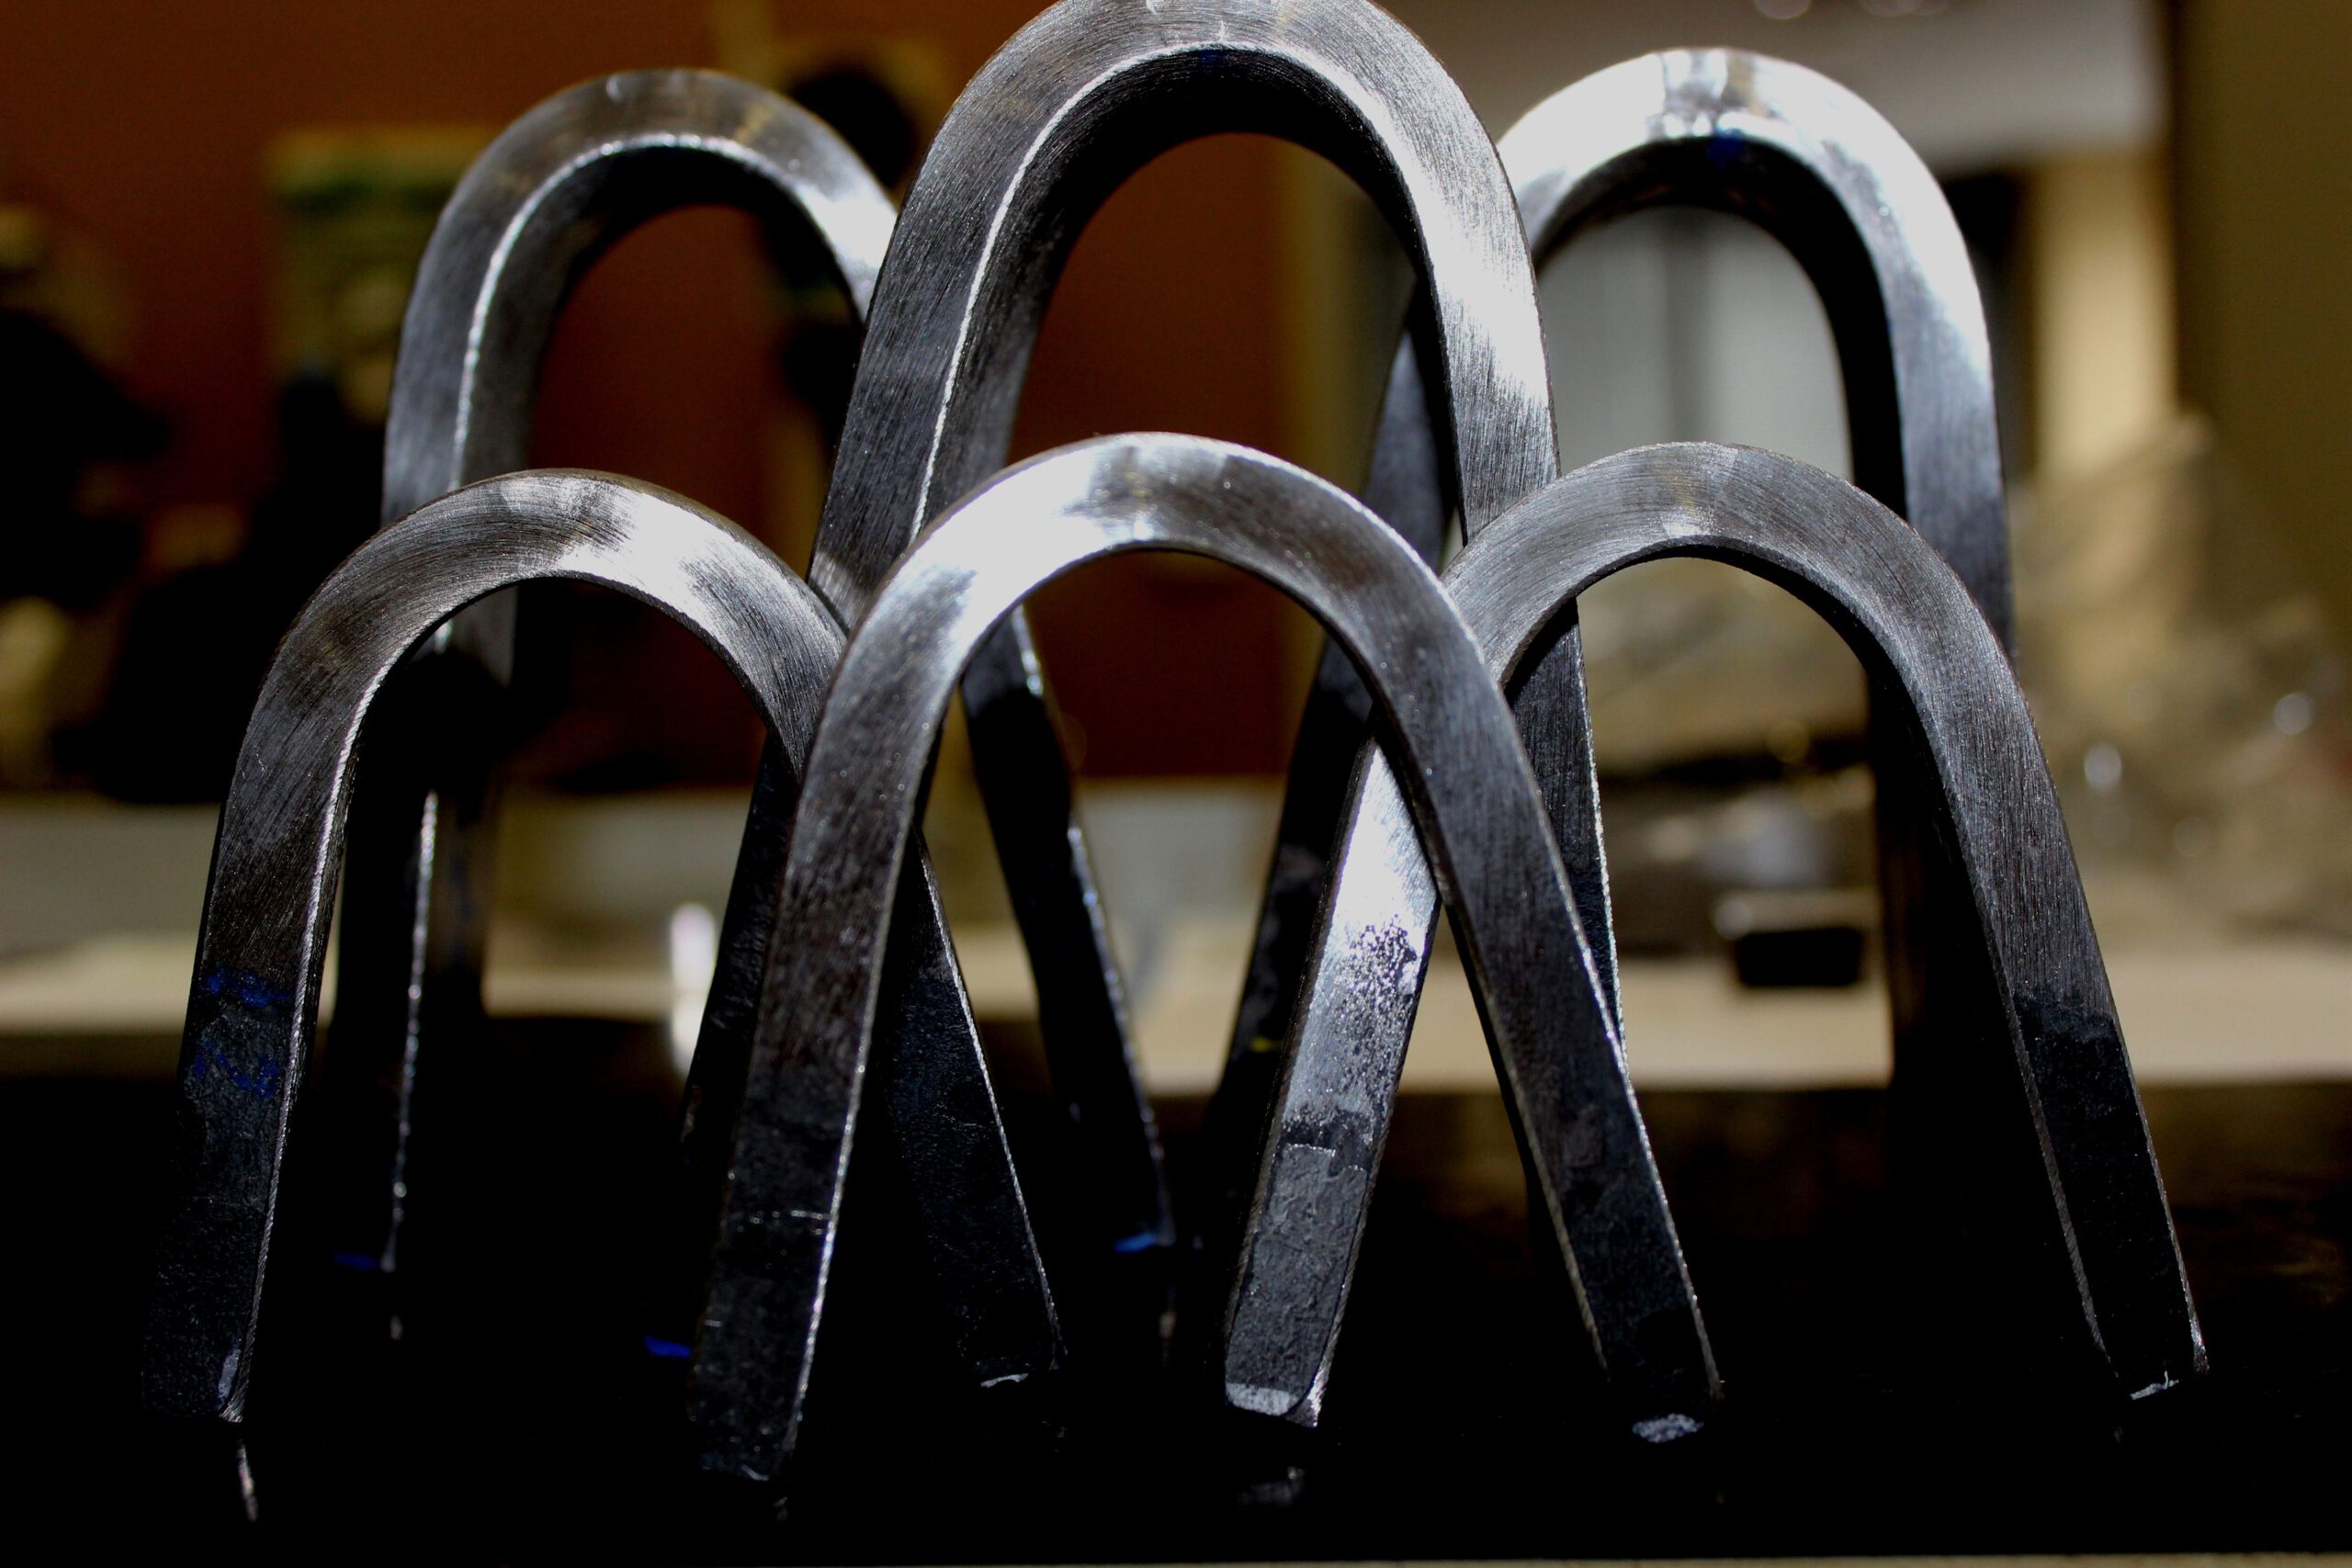
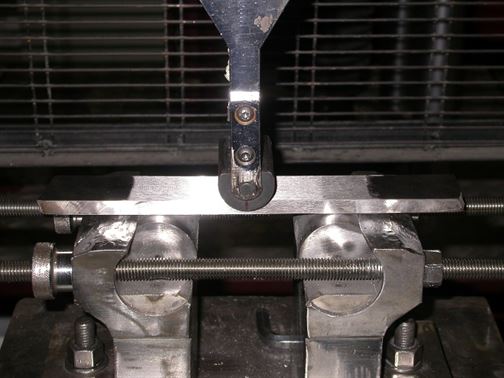
Bend test determines the ductility and resistance to fracture of metallic materials and weld joints. A test specimen is bended at its midpoint by means of a mandrel that makes the surface concave with a specified radius of curvature. After this, the convex surface of the bended sample is observed to detect any crack or defect.
Fracture test allows to get information about the presence of defects in the welding, determining their nature, and studying the dimension and concentration of porosities, cracks, shrinkages, defects due to incomplete penetration or inclusions.
Visual examination of the fractured surface is used to recognize these kinds of defects and to evaluate the welding quality and acceptability.
The fracture, that is caused in correspondence with the welding, is obtained subjecting test samples to bending or tensile strenght, according to the reference standards or specifications.
BEND TEST METHODS
- GOST 6996
- NF EN ISO 7438
- API 5L 46th Ed
- API STD 1104
- API 5LC
- ASTM A1058 § 13
- ASTM A 106/A106M
- ASTM A335/A335M
- ASTM E290
- ASTM E190
- ASTM A265
- ASTM B571
- EEMUA 143 -Tear Test
- Z245.11
- ISO 5173
- ISO 7438
- ASME BPVC.I PW-53
- ASME BPVC.IX QW-160
- ASME BPVC.IX QW-466.4
- ASME BPVC.IX QW-192 (Stud Weld Test)
- ASTM A370 § 15, § A2.5.1.6 and § A2.5.1.7
- BS EN ISO 8491
- BS EN 910
- ISO 14555
- SEP 1390
FRACTURE TEST METHODS
-
API STD 1104
-
API 5LC
-
ASME BPVC.IX-2021 QW-182
-
AWS D1.1/D1.1M§ 6.23.4
-
ISO 9017
-
ISO 8496
MORE INFORMATION
Ask a question or request a quote fulfilling the mask below
or call us at (+39) 0523 881 900
Required fields marked with *
YOU NEED ANOTHER TEST?
SIDERTEST
is ACCREDITED FOR A WIDE RANGE OF TESTS


