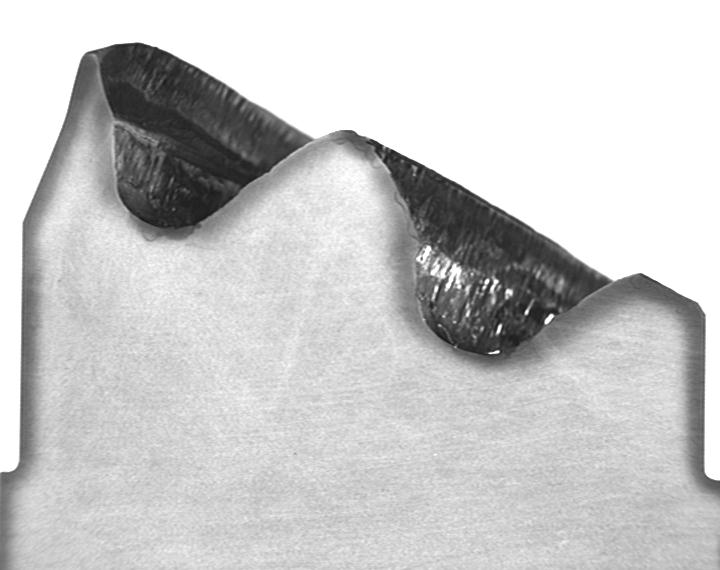
MACROGRAPHIC EXAMINATION
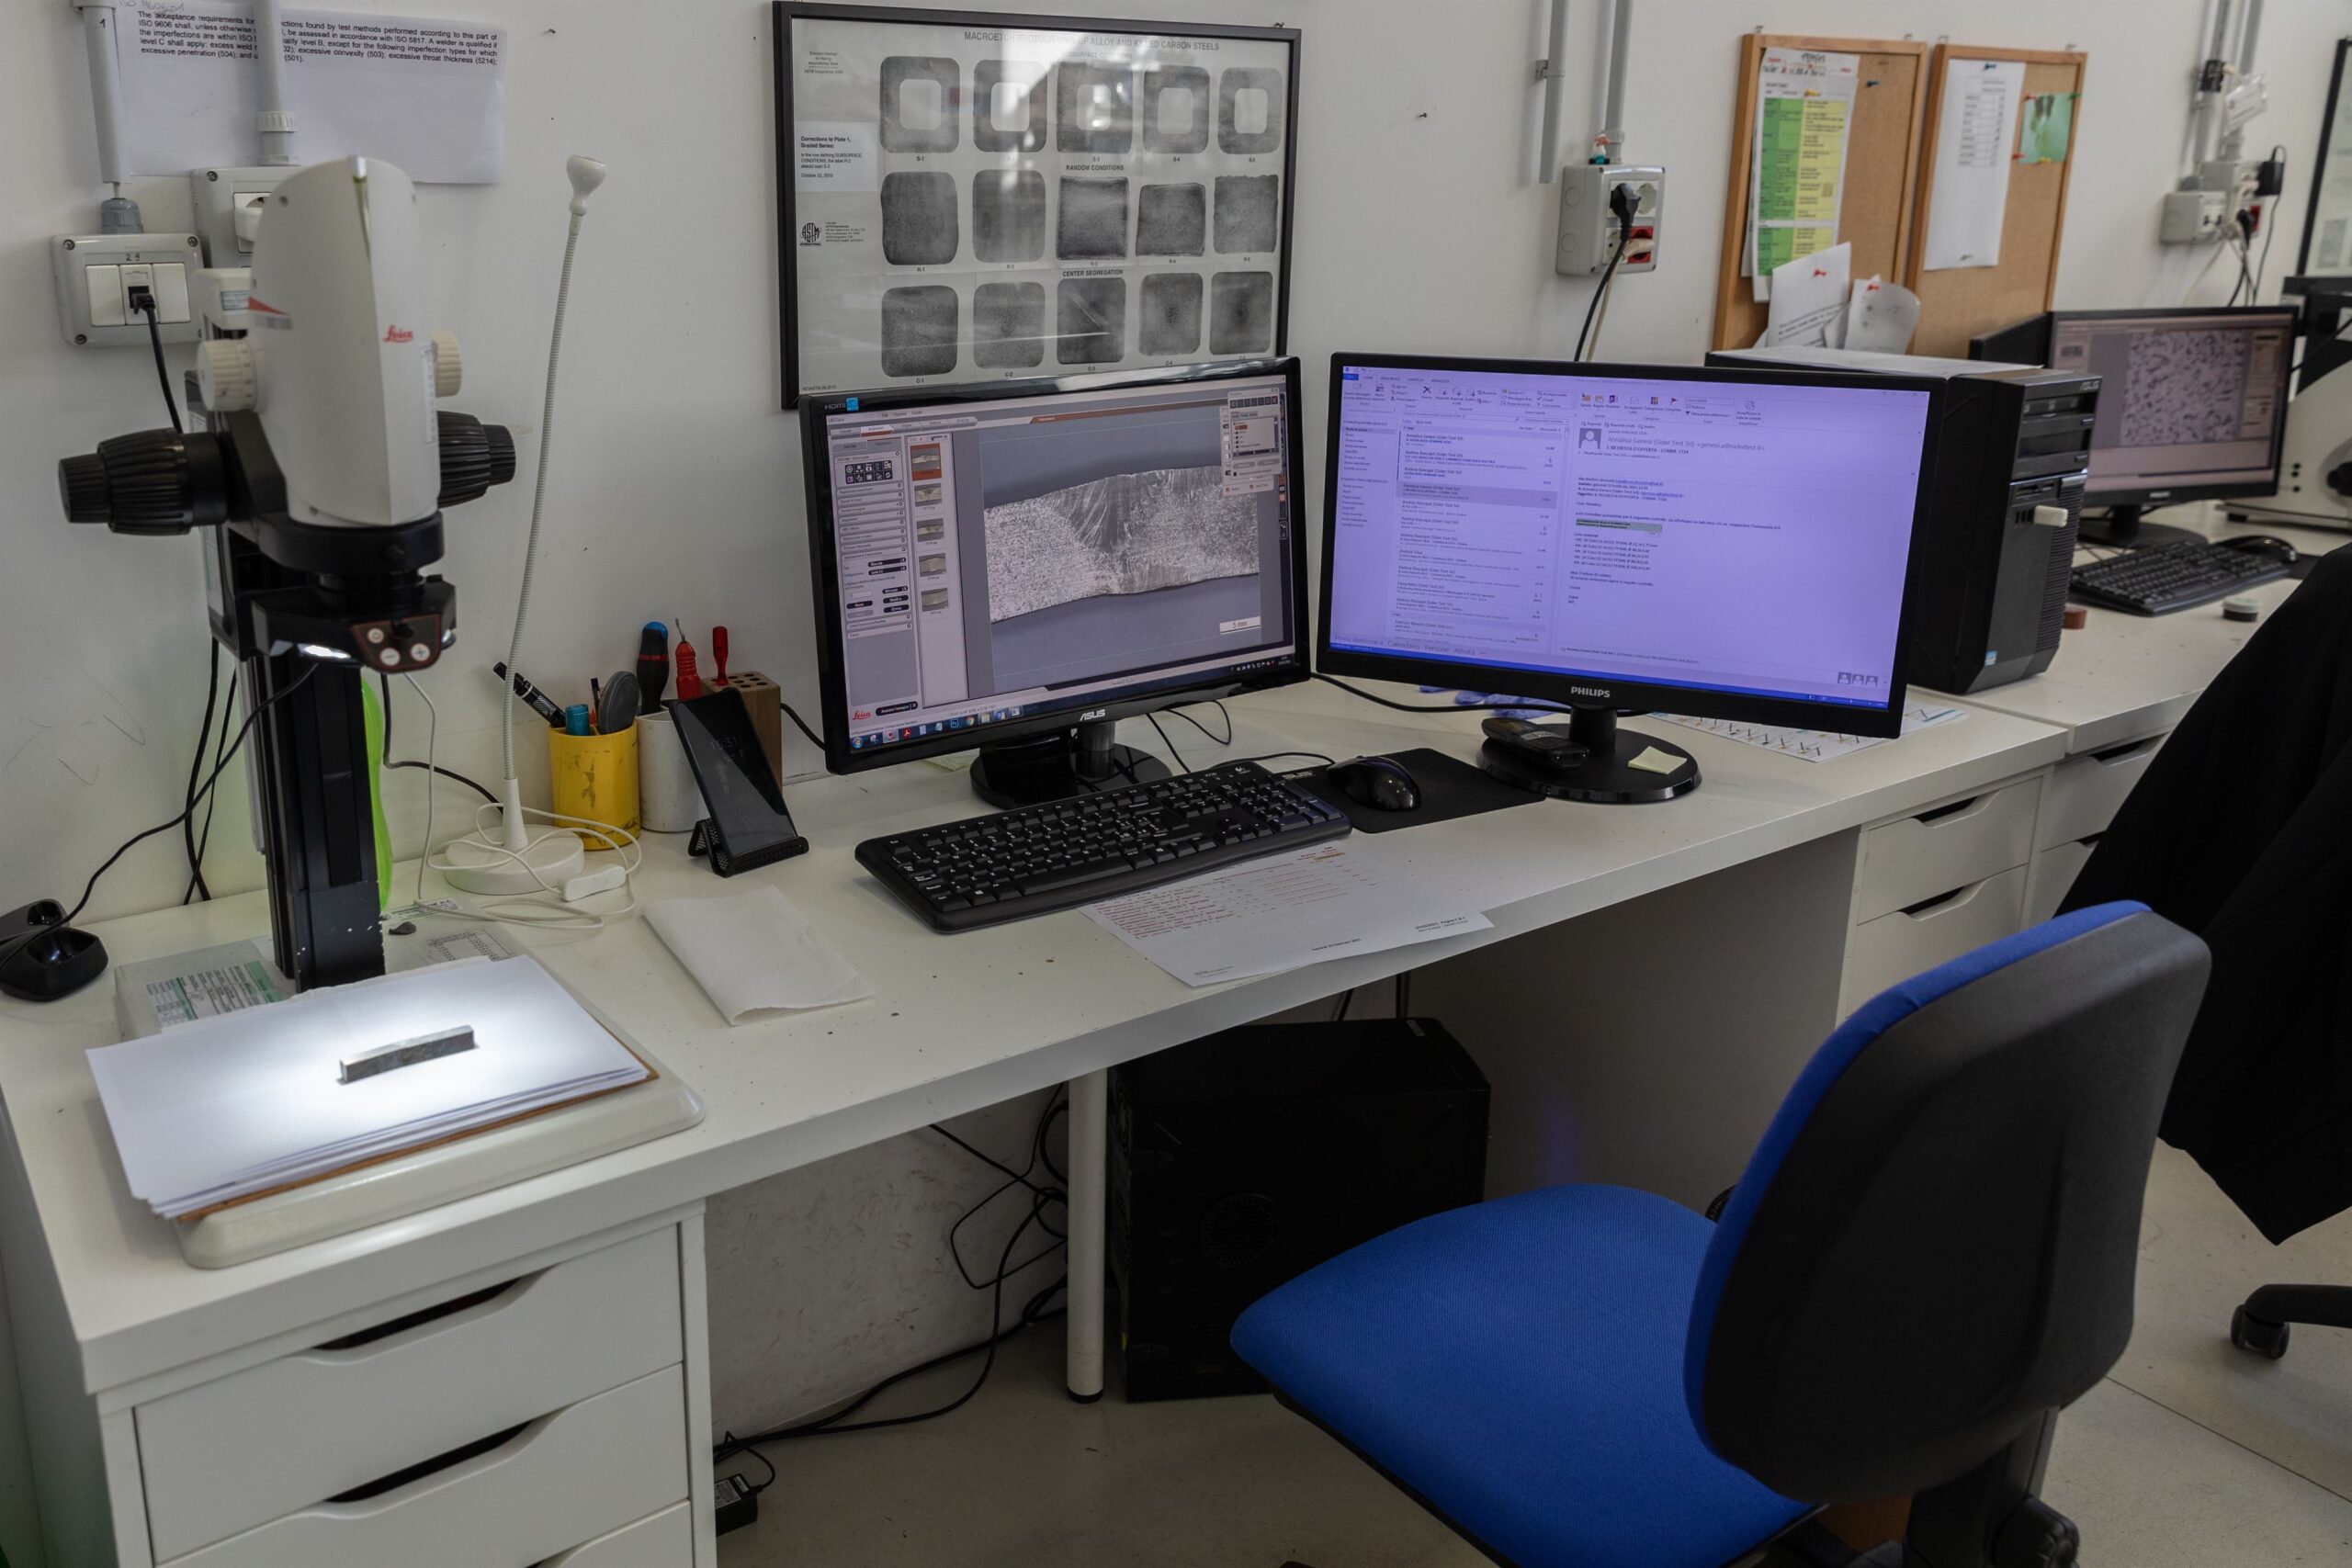
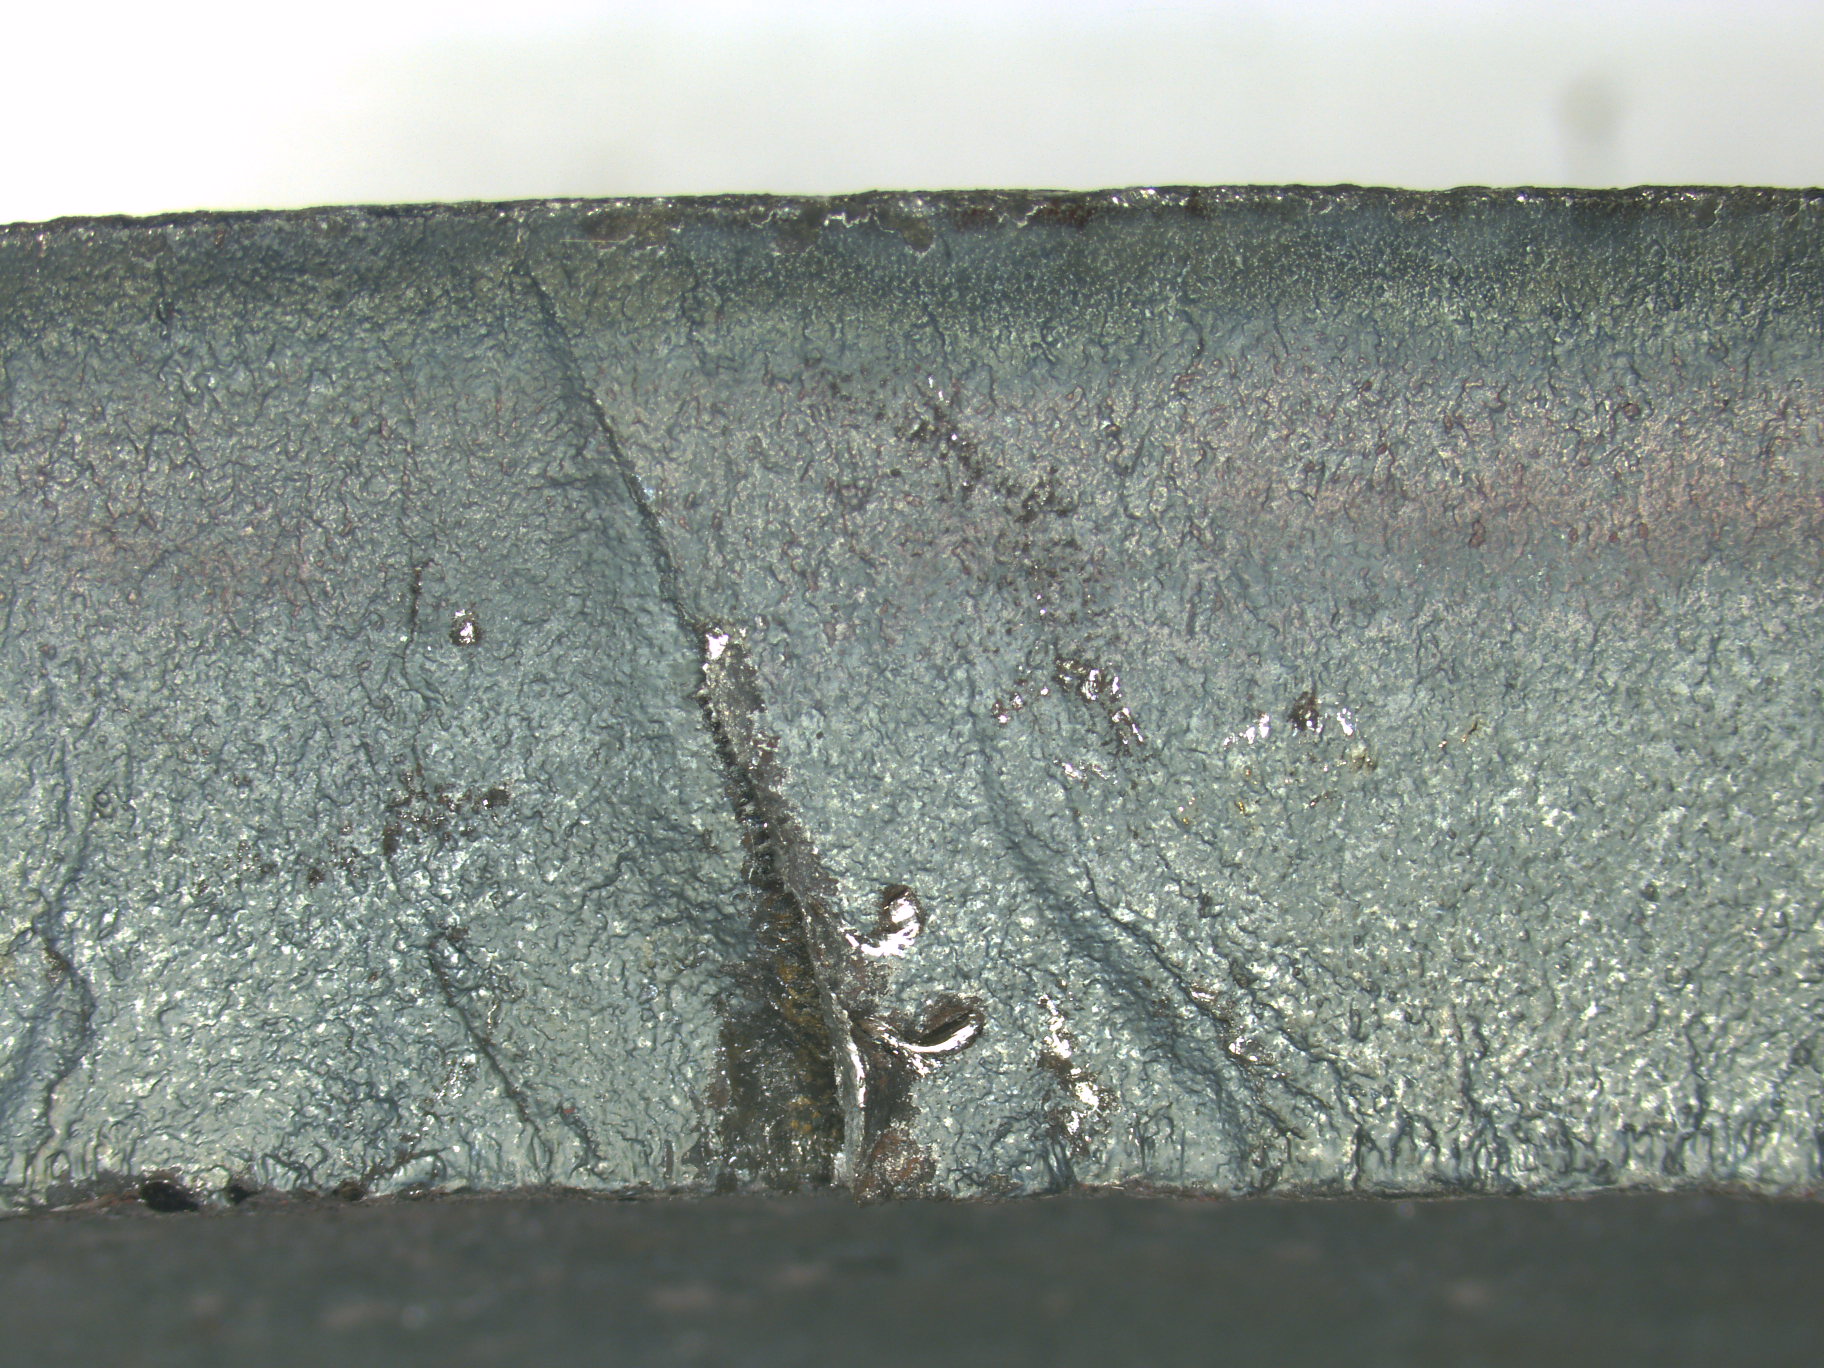
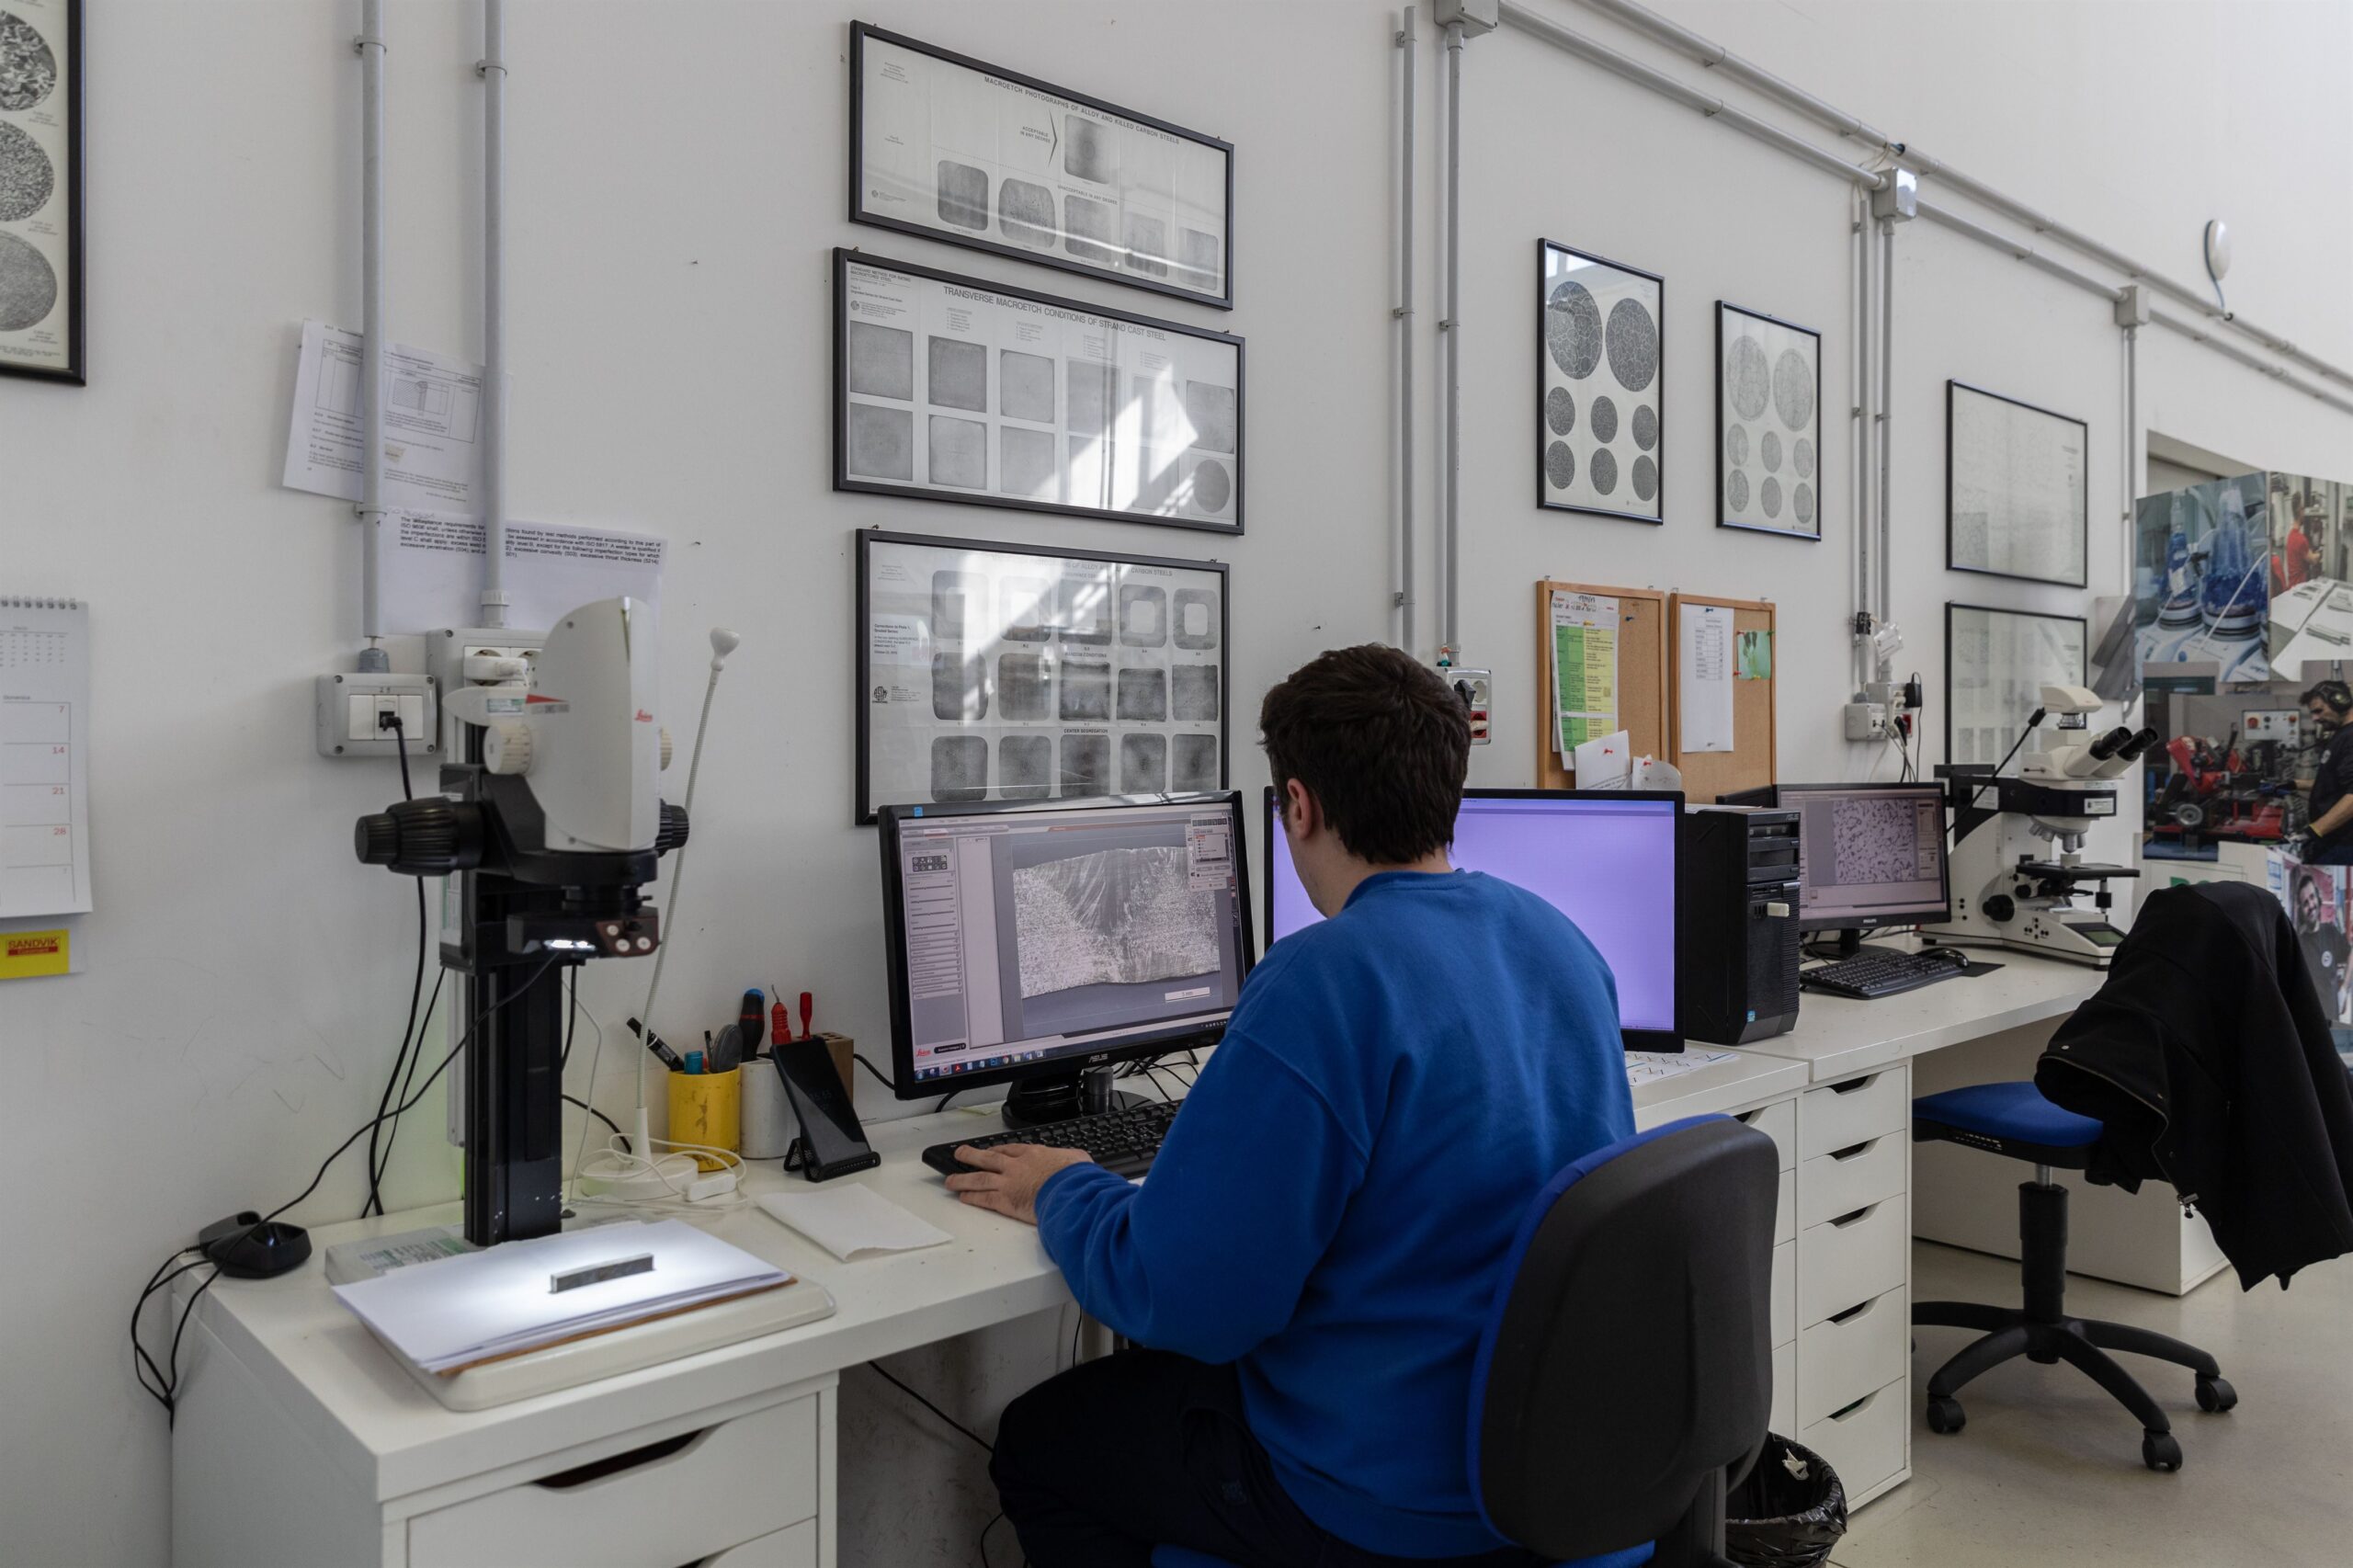
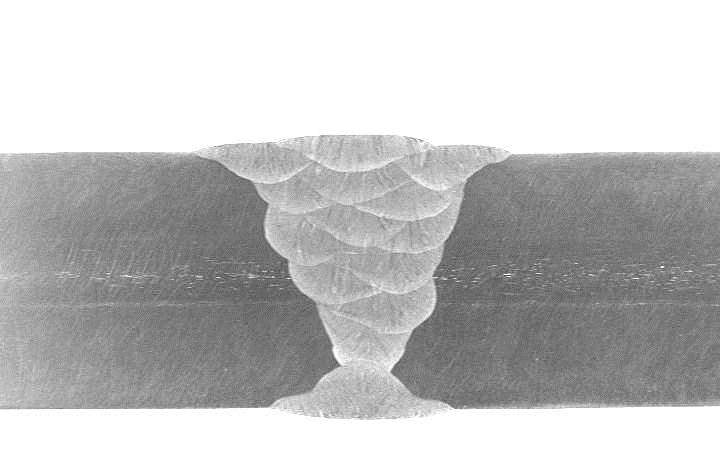
The examination of a test specimen by the naked eye or under low magnification is used to reveal the macroscopic features of metallic materials and welded joints. the surfaces to be examined shall be grinded, polished and, where appropriate, etched. Their observation allows to reveal the crystalline structure, establish the fibers orientation due to deformation processes and detect the presence of defects
A particular technique used for the macrostructural evaluation of the metallic materials is the macrographic examination by sulfur prints also known as “ Baumman’s method “.
TEST METHODS
- ASTM E381
- ASTM E340
- NF A 05-152
- ASME BPVC.IX QW-193.1.3
- ISO 17639
-
AWS D1.1/D1.1M § 6.23.2 + ASTM E340
- ASME BPVC.IX QW-184; ASME BPVC.IX QW-183
- ASME BPVC.IX QB-180; ASME BPVC.IX QW-192 (Stud Weld Test)
-
ASTM A604/A604M
-
ASTM E1180
-
DEP 30.10.60.31
-
ISO 4969
-
EN 12797
-
UNI 3138
-
ISO 4968
MORE INFORMATION
Ask a question or request a quote fulfilling the mask below
or call us at (+39) 0523 881 900
Required fields marked with *
YOU NEED ANOTHER TEST?
SIDERTEST
is ACCREDITED FOR A WIDE RANGE OF TESTS


